

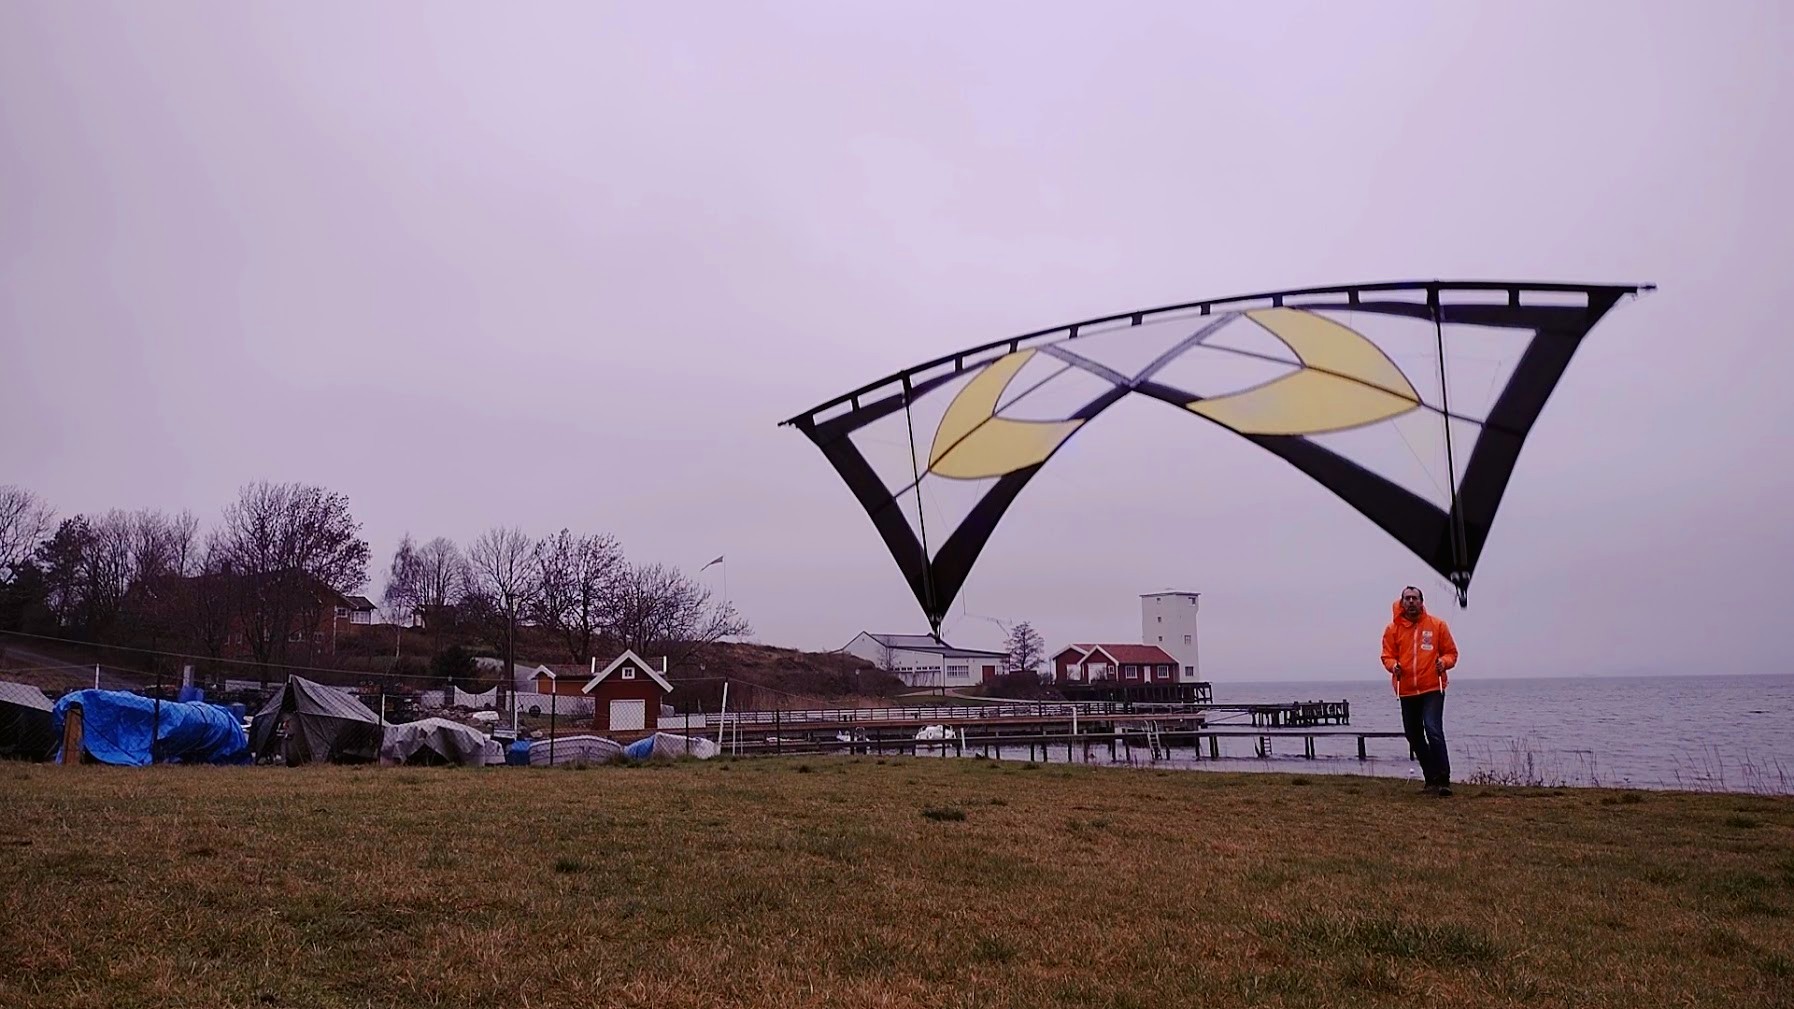
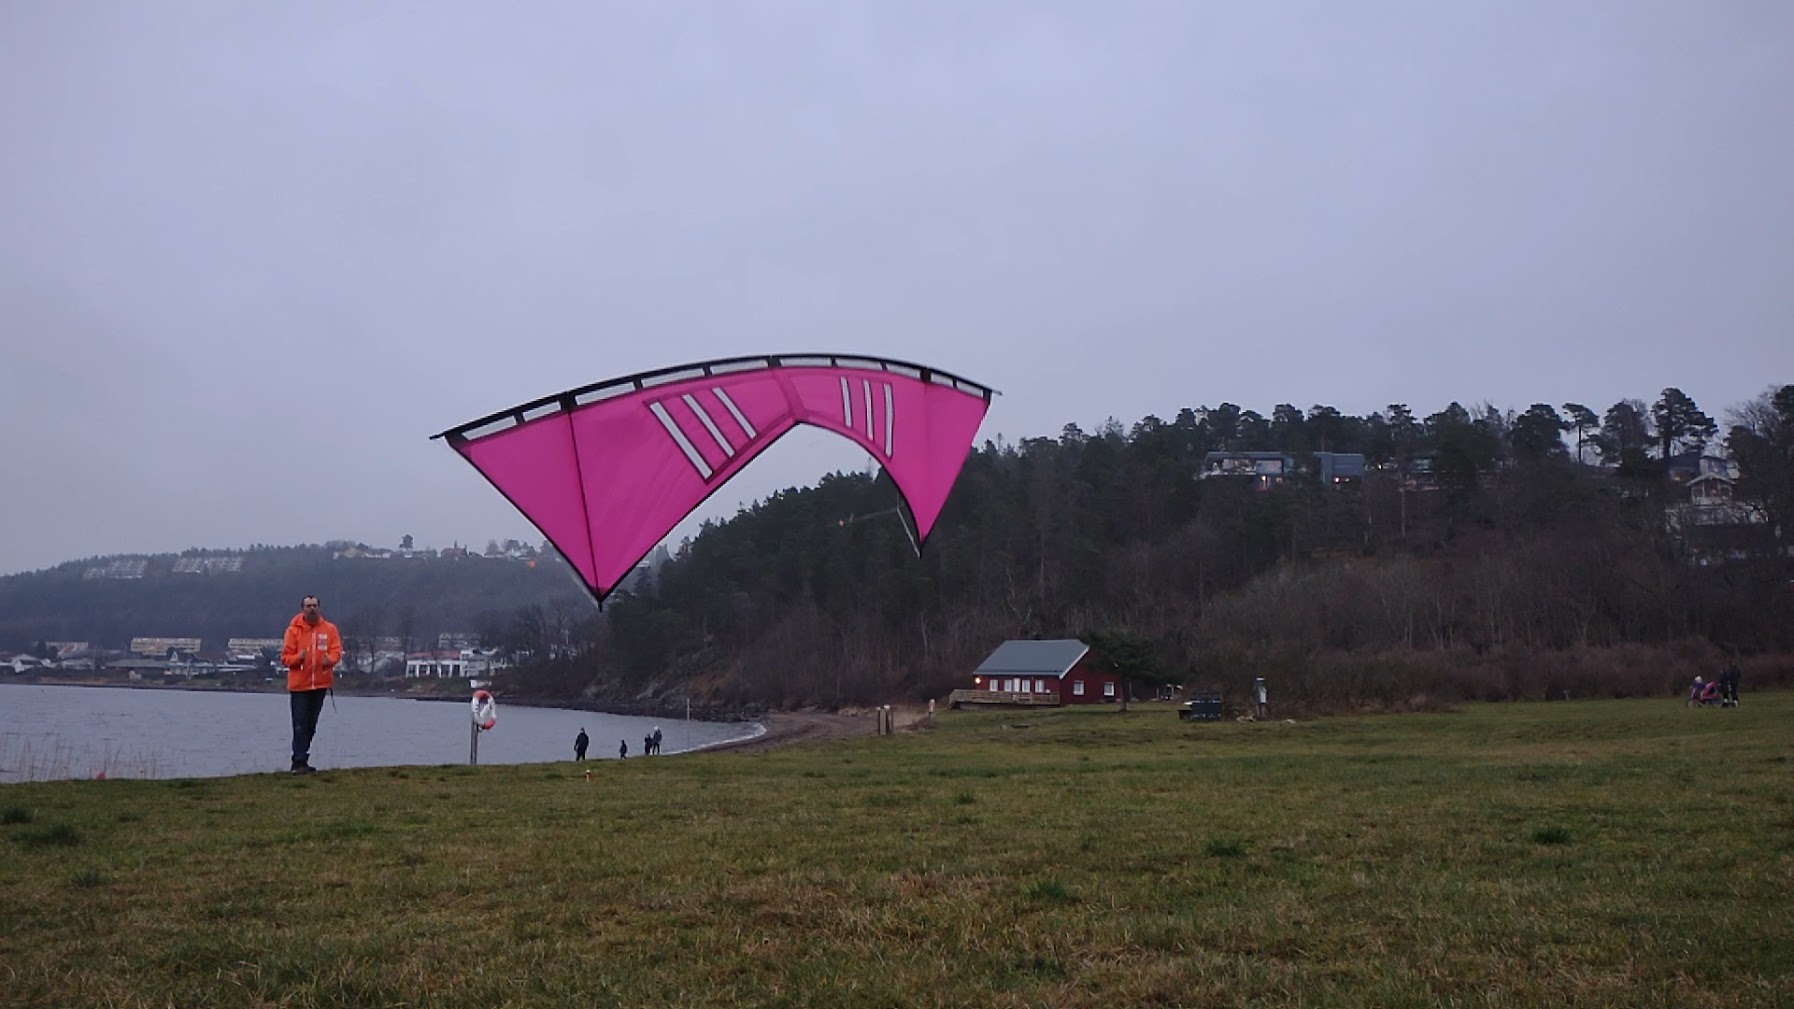
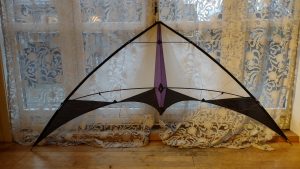
Yes, it’s taken far too long to get this kite ready to fly, but now I’m running down the home stretch. All the sewing is done, the leading edge is ready, all the bits and pieces is sitting in the box waiting patiently to go.

And finally it’s the bridle. The bridle line is nicely rolled up on its winder ready to meet a pair of scissors, to be cut and fitted on the kite.

I’ll keep you posted!


4 Responses
I can see no LE ventilation in the image, so this is going to be a really light wind one?
> All the sewing is done,
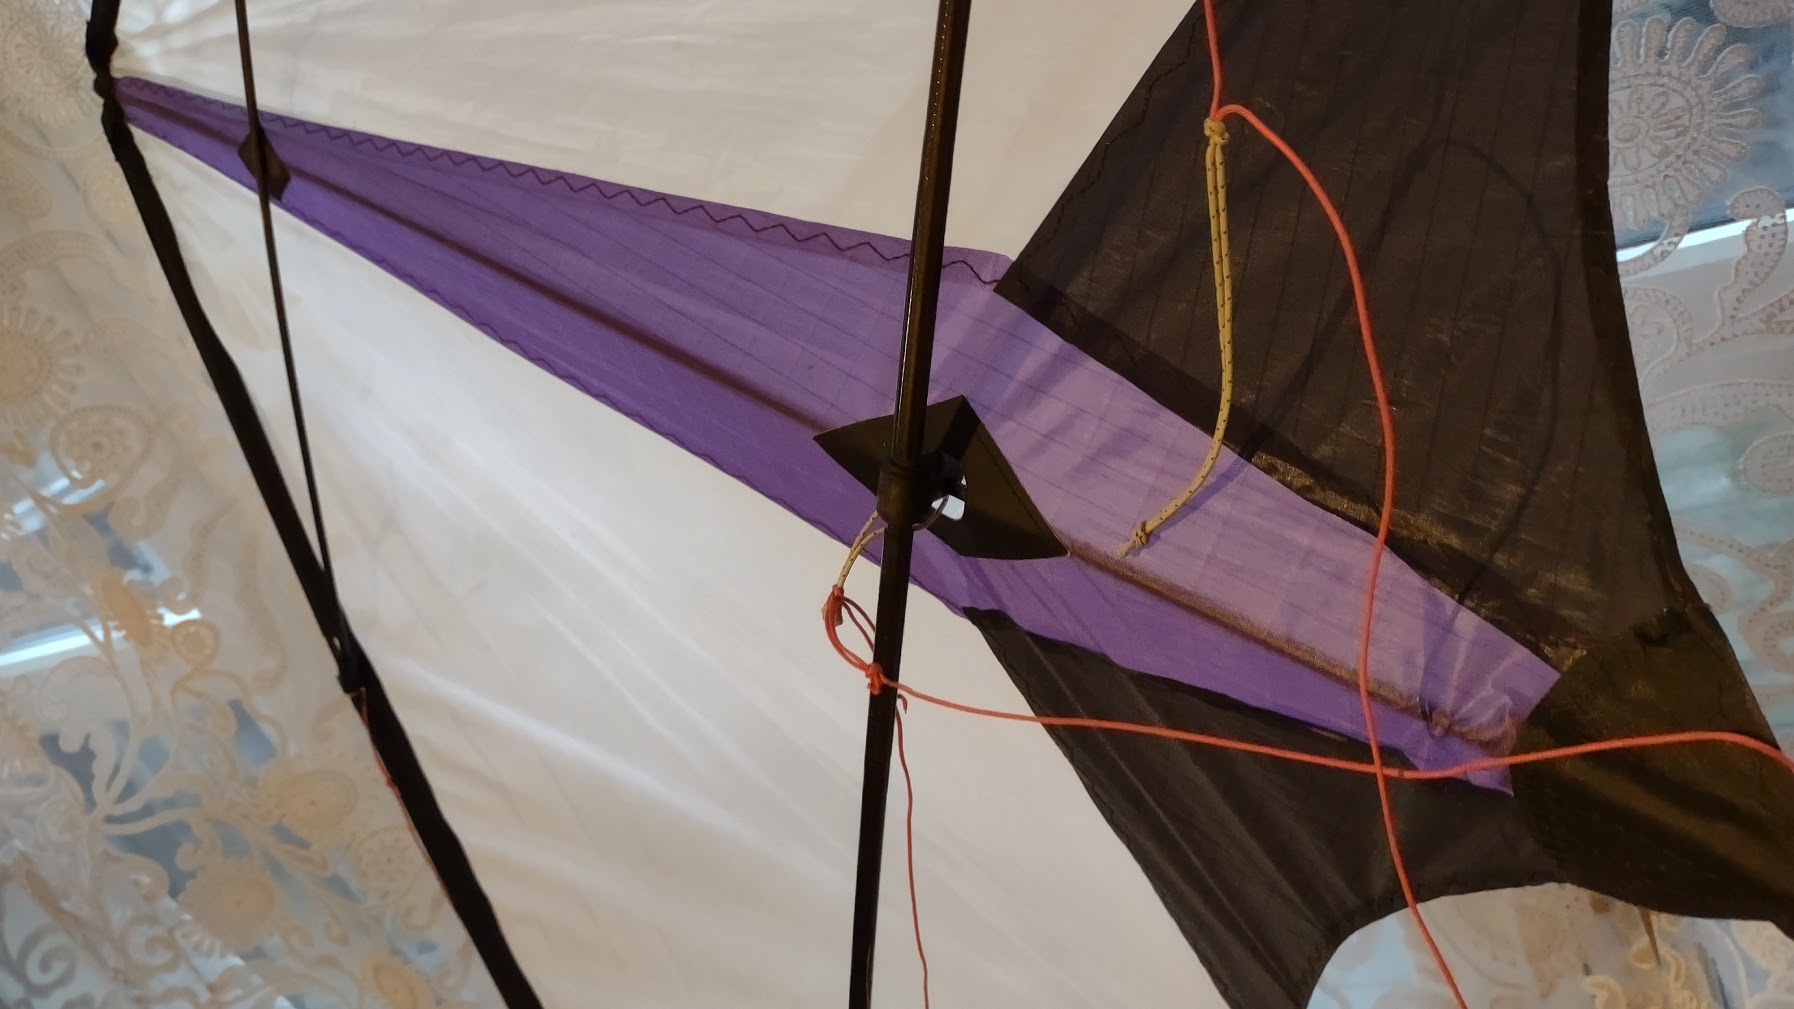
I can’t see any reinforcement patch on the trailing edge in the centre. Is is so that the reinforcement patch will be glued on since you are done with the sewing? Or are you going along without it? It then looks like it could have the potential of being a weak spot. Even my only revlike quad that is totally without ventilation (light wind i.e.), the Rev Indoor, got a reinforcement patch there. All the others got a patch there.
> The bridle line is nicely rolled up on its winder ready to meet a pair of scissors, to be cut and fitted on the kite.
And if low wind, will it be sleeved or not sleeved bridle, ahh I can of course wait for the answer in a future post…
…and (noticing that most of my above questions sounded as they would have been fetched from some kind of interrogation/debate):
GOOD LUCK with your project!
Hi!
…and thank you!
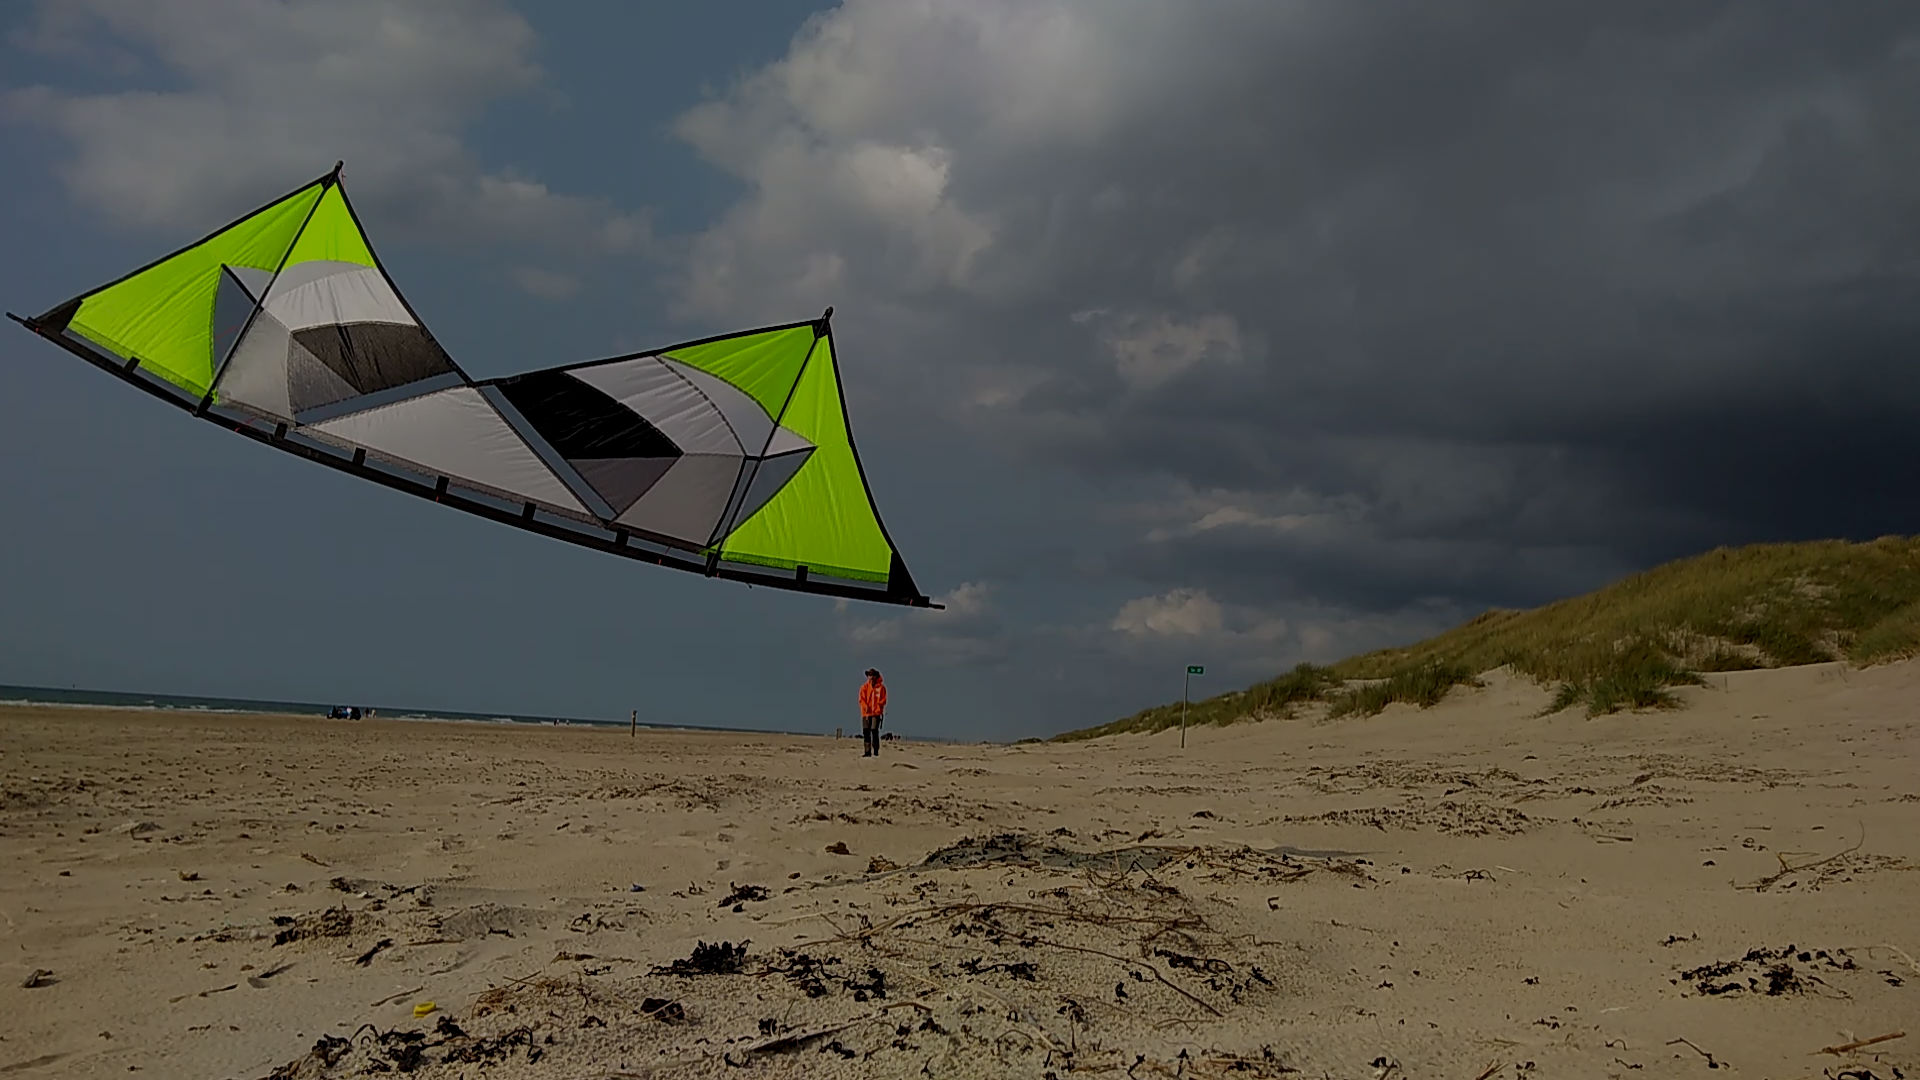
Yes, my plan is to build a (hopefully super) ultra light quad. 🙂
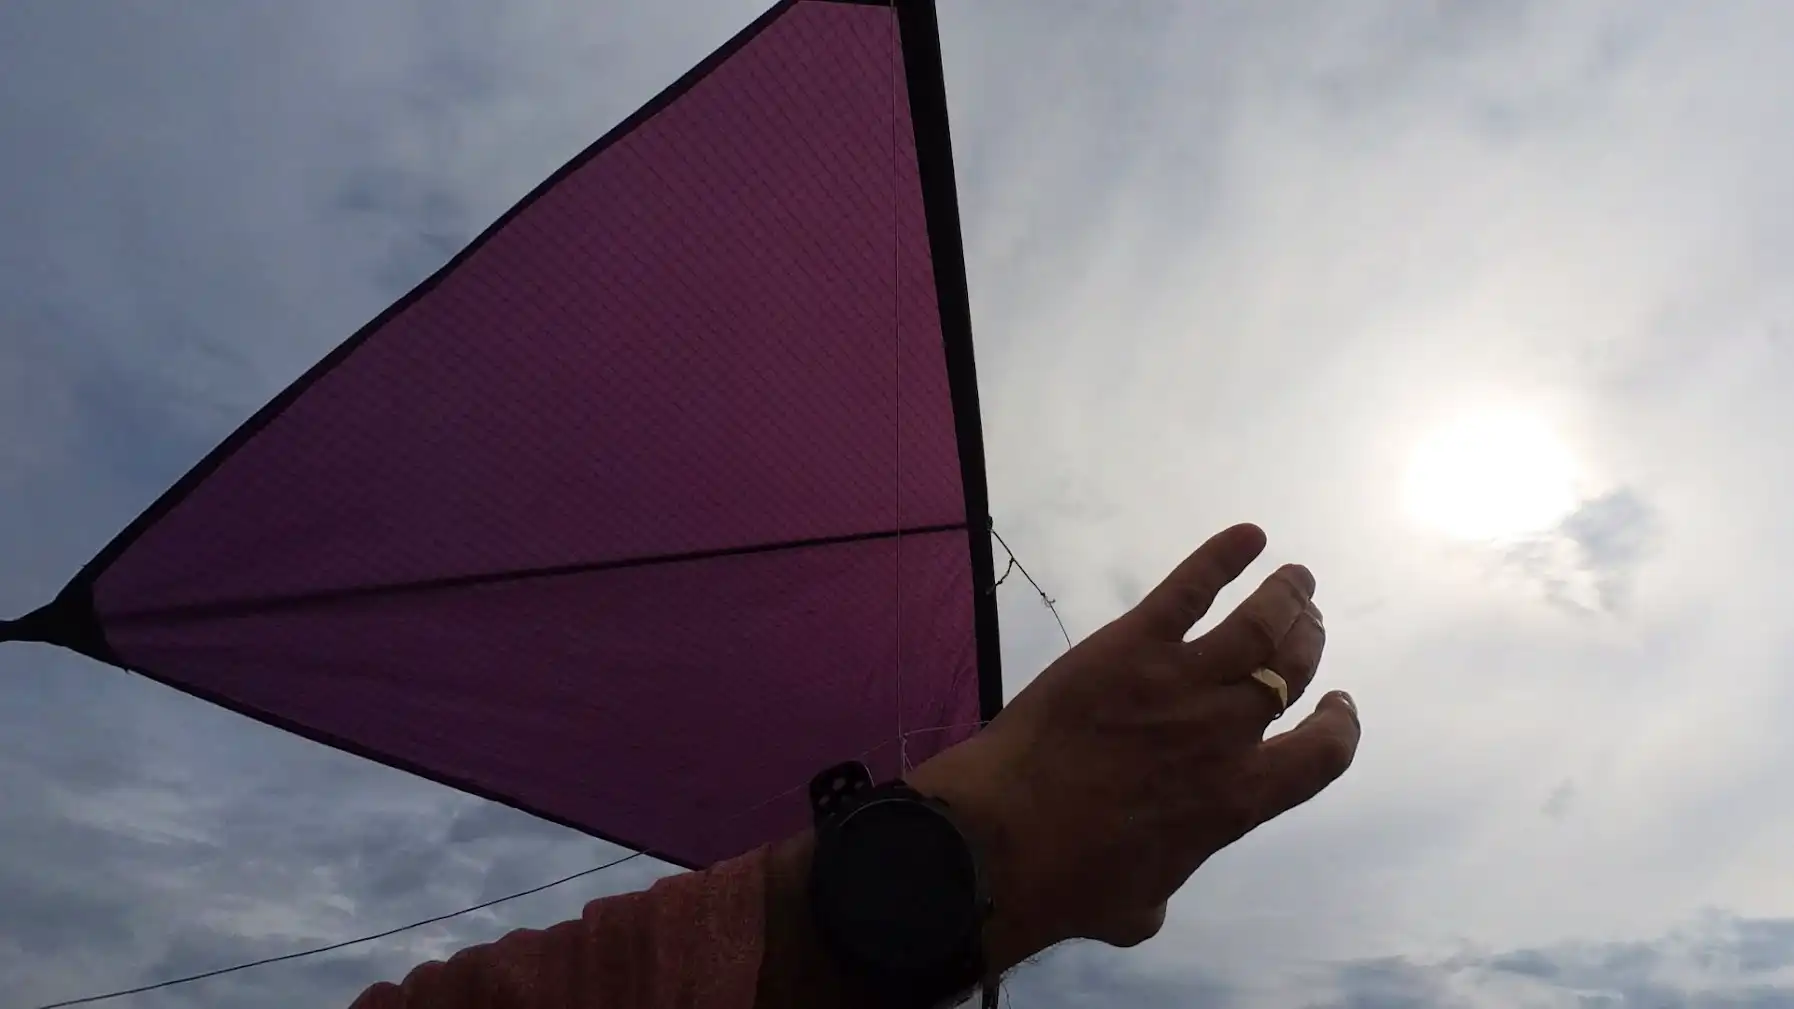
…and you’re spot on! If you mean the trailing edge where the two wing halves meet in a sot of upside-down V, the plan is to reinforce that spot with a couple of pieces of see-through mylar tape. So yes, I think I’m done sewing. 😉
As you point out in your comment, this is a weak point that will face quite a bit of stress, hence the reinforcement on your kites and my plan for using the tape.
I want to have the kite to look as “clean” as possible. That’s why I’m going for a see-trough (invisible) tape, rather than the normal piece of dacron. 🙂
/Sven
> The bridle line is nicely rolled up on its winder ready to meet a pair of scissors, to be cut and fitted on the kite.
If you only want to get it in the air as quickly as possible, consider skipping the bridle – instead attach pigtails to all the ends of the downspars. To get the feel for bridleless piloting you could attach the pigtails to any quad to try it out first. Then removing the bridle is not absolutely required (but should work better). I guess this still should be considered to be a detour, since tying the bridle should be quicker than getting used to bridleless.
> rather than the normal piece of dacron.
Nitpicking alert: Normal is a bit context dependent. The reinforcements on my *Revs* look more like kevlar than dacron, but I’m not 100% sure that it is kevlar.
> If you only want to get it in the air as quickly as possible, consider skipping the bridle – instead attach pigtails to all the ends of the downspars.
No! That’s cheatin’ ?