When you have built a few kites you tend to end up with a heap of ripstop scraps. These scraps should definitely not go in the bin but rather be recycled into another project. That’s what this post is all about!
So I dived into the scrap box an came out with a nifty selection of really colourful pieces which I spread all out on the floor.
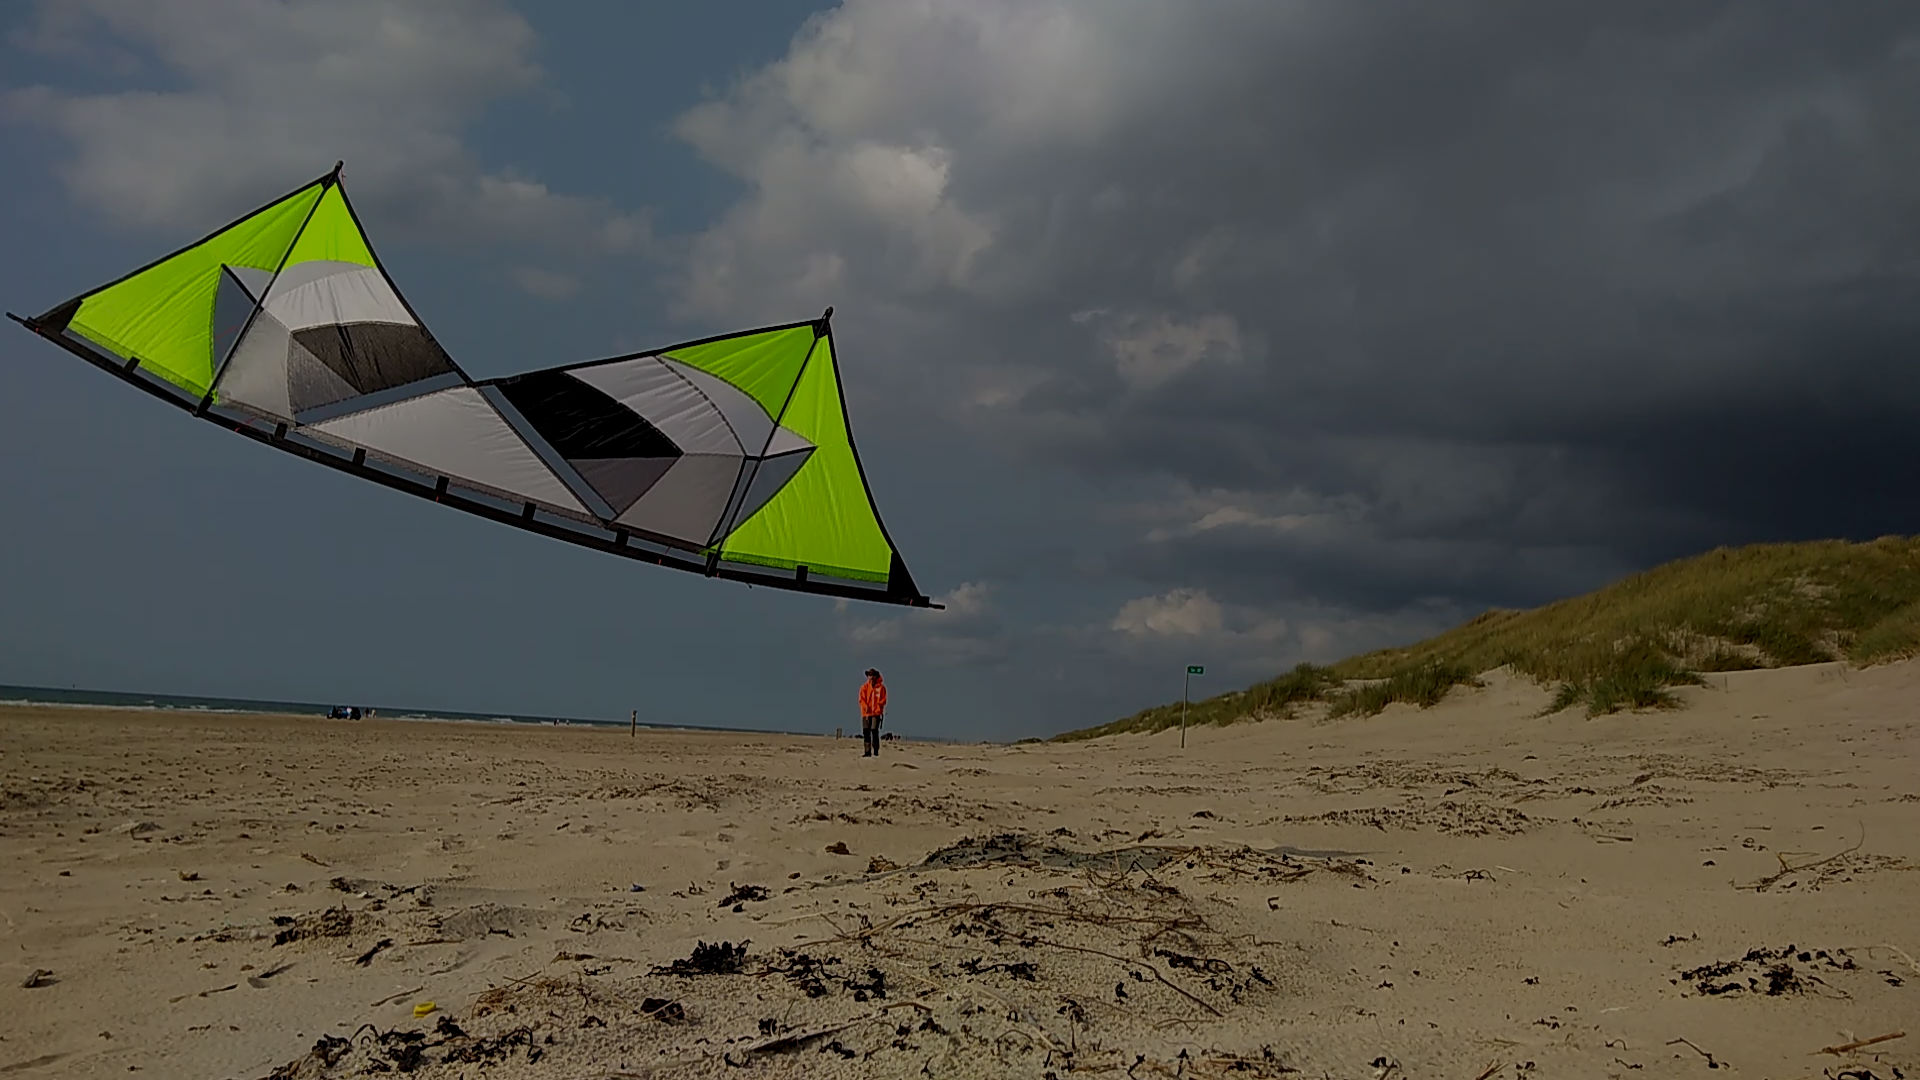
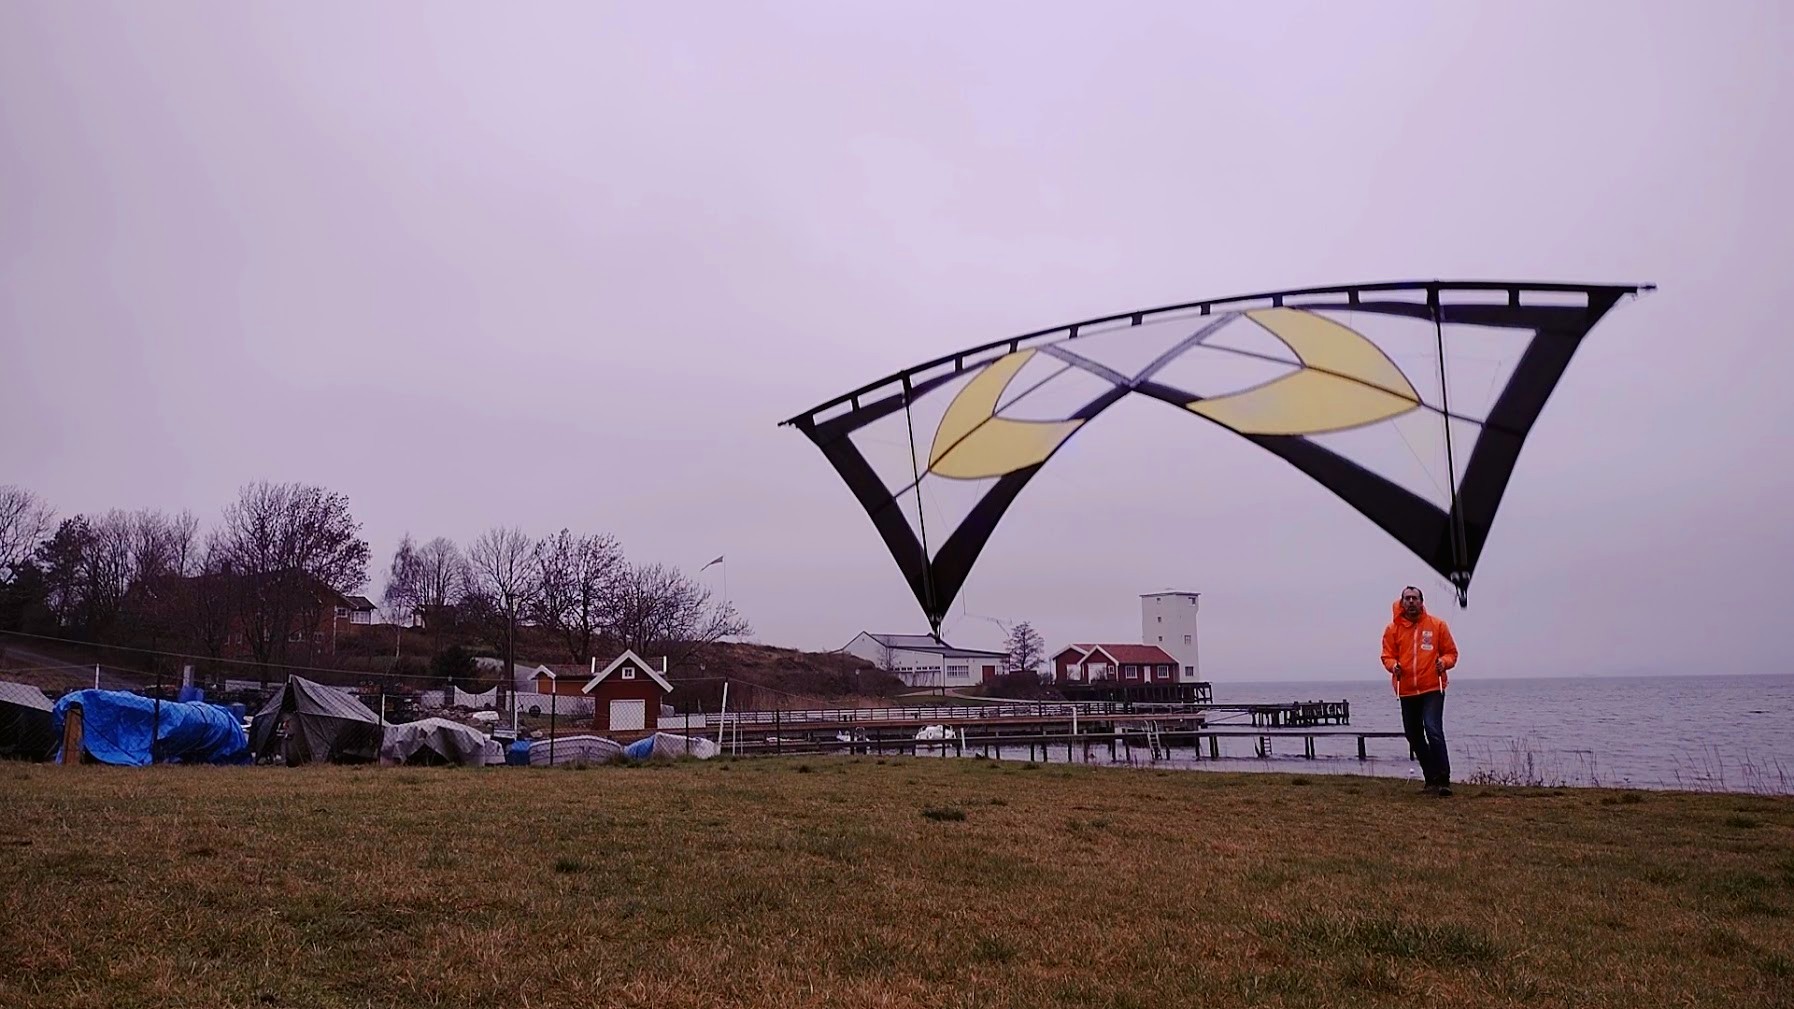
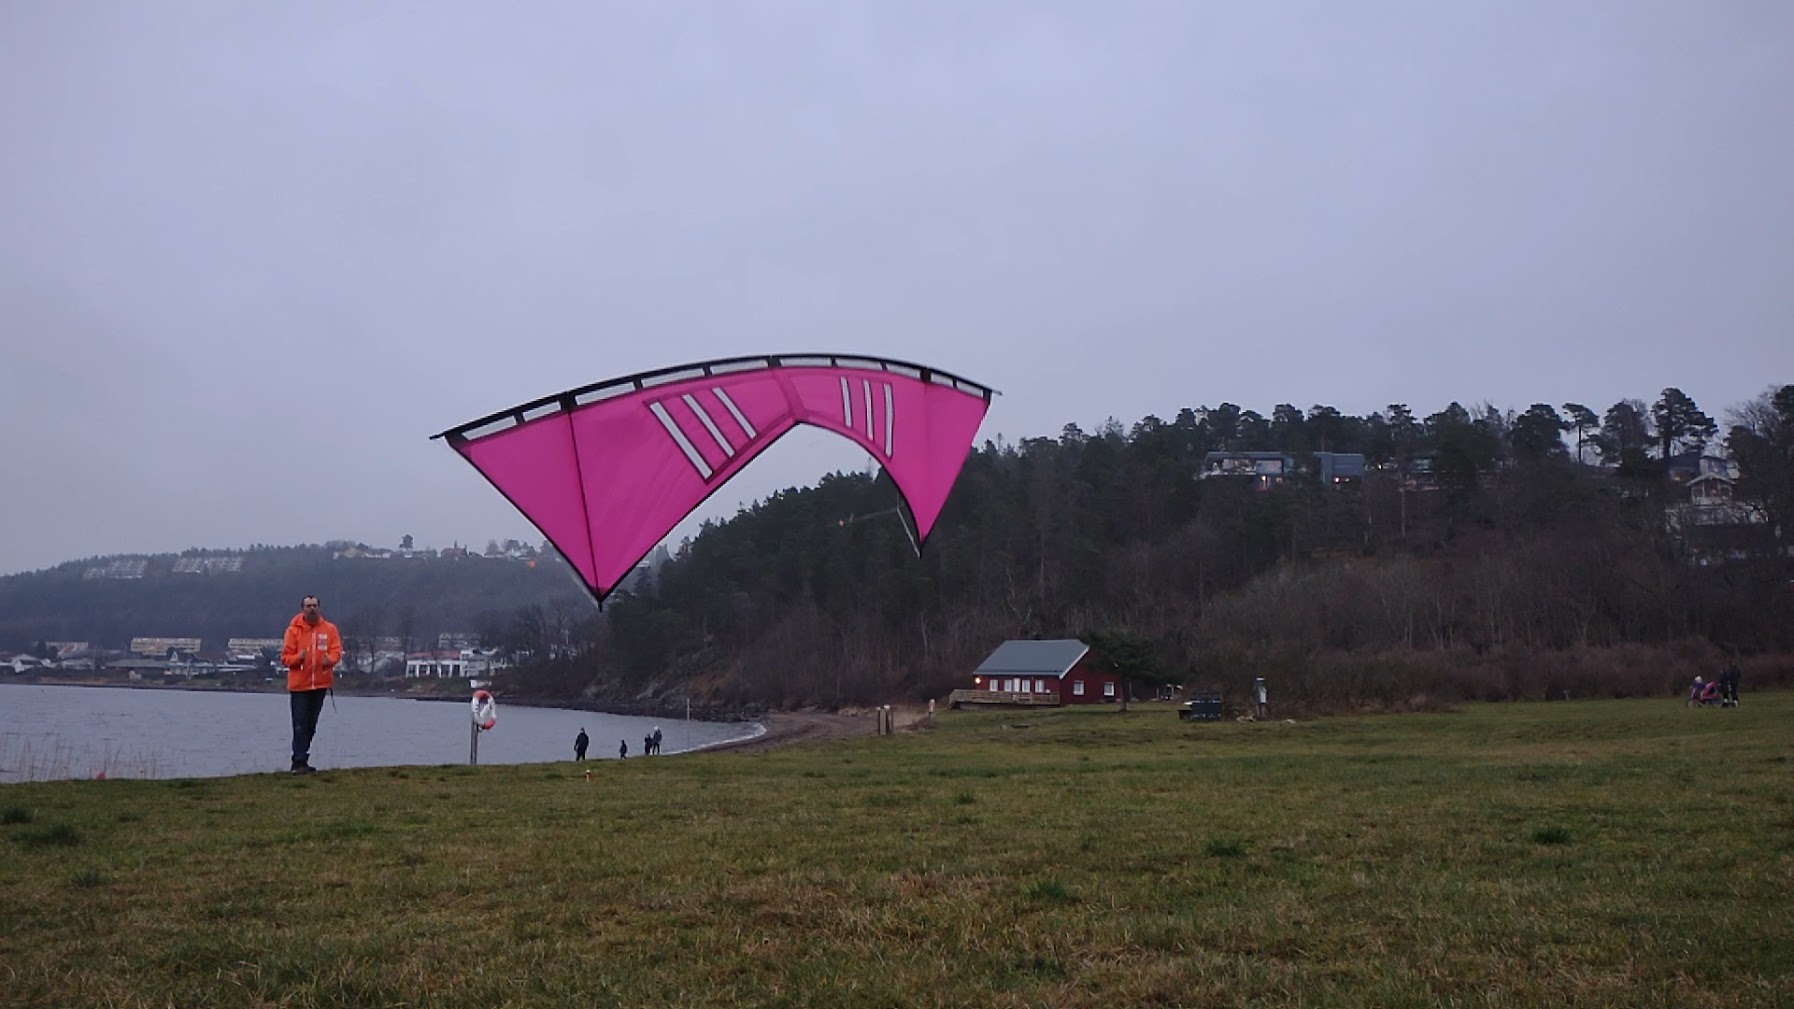
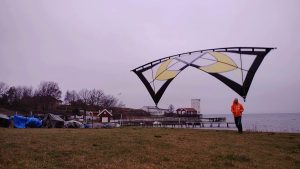
What to make….. Hmmmm….. Maybe a really colourful small Rokkaku that could also work as a KAP-lifter when the winds really picks up…?
Yes, worth a try!
First thing was to sew all the really colourful pieces together ending up with a really colourful piece large enough for the Rok sail.
Next step to put it on the floor and make it ready for cutting the Rok shaped sail before hemming all the edges.
Now down to the nitty gritty. Making the reinforcement in the appropriate places and create the pockets for the spars. …and sew the bits’n’pieces on the RIGHT side of the sail! ?
A quick dive into the kite cave looking for spars and a hack saw for cutting. Then I inserted the two horizontal spars into the side pockets and installed the bow lines. The whole thing now starting to look like a kite!
Next, the spine. I found a spar that fitted nicely without having to cut it. Nice! I fitted an endcap on the upper end and a split end cap on the lower. This way I can use a bungy at the bottom to secure the spine. To protect both the bungy and the split end cap at the bottom I found an 8mm endcap to cover it all.
Finally the bridle, three pieces of bridle cord approximately 1,5 of the kite’s width, a few overhand knots. A handful of larks heads and a couple of pussiks later the kite was complete!
But wait! No kite building project is complete before the bag is made. So I used what was left of the really colourful pieces, sewed them together and made a really colourful bag.
Now…! The kite is completed!
You can take a closer look at the project in the embedded Google Photo Album below!
Oh, and by the way, this post’s featured image is taken down into the bag!